DIY Kissing Booth
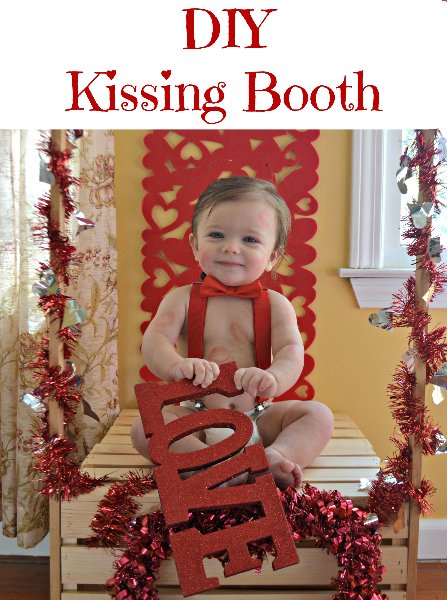
Valentine’s Day is tomorrow and I wanted to share my tutorial for a DIY Kissing Booth. The cuteness factor is through the roof, especially when you have a super sweet and cuddly baby to add to the booth!
Supplies
Plywood Sheet (4″x25″)
2 Wooden Stakes (40″)
Paint
Nails/Screws/Glue
Valentine’s Gardland
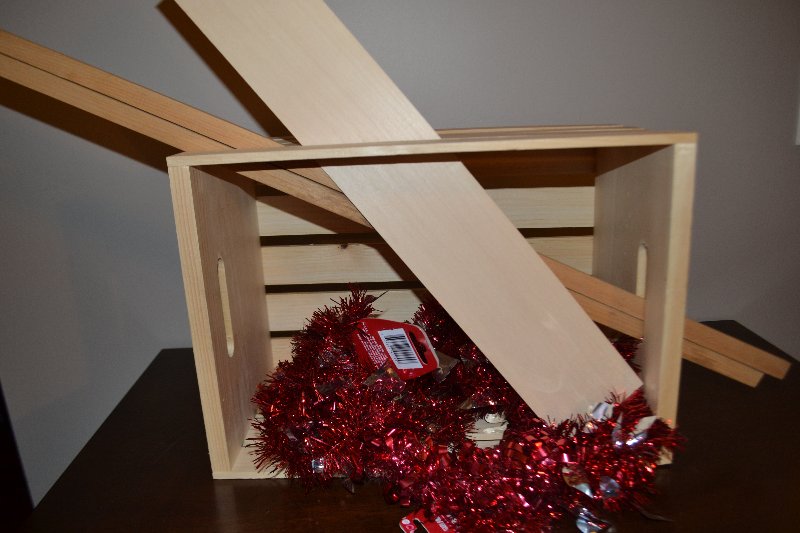
Attach Wooden Stakes to Crate
Turn crate on its side and attach wood to the sides with a few screws or nails. I used two thin pieces of wood that I had in the basement. Wooden dowels from the craft store would also work fine.

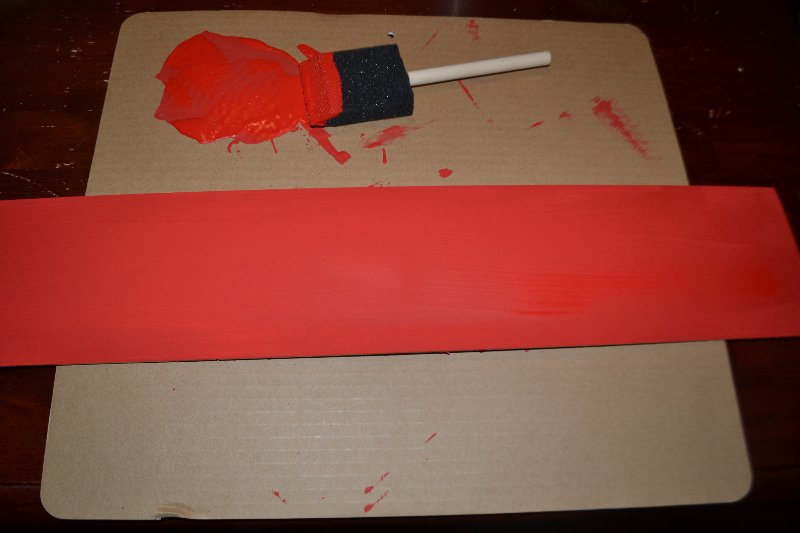
Paint Plywood Sheet
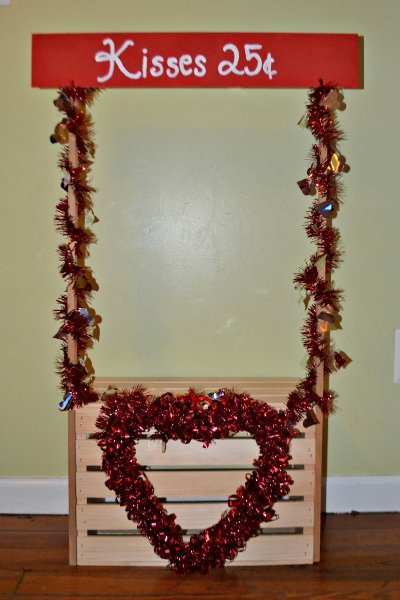
I painted the sign a bright red but chalkboard paint would also be great for this project. I then wrote “Kisses 25¢” in white paint.
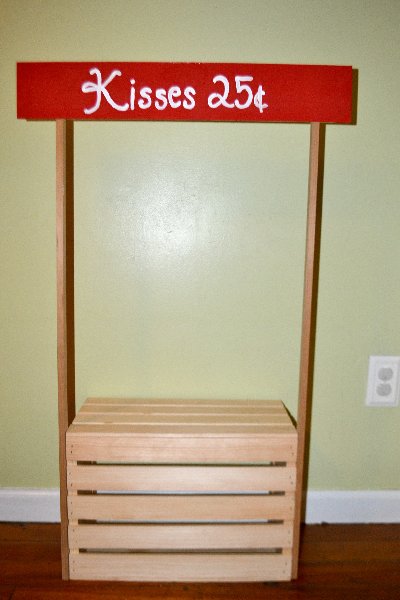
Attach Plywood Sheet
I used hot glue to attach the plywood sheet to the wooden stakes. I was worried that the wood would crack if I used a nail or screw. The plywood was light enough that the hot glue worked great.
Decorate
I used some Valentine’s Day garland from the dollar store and an old heart that I had to decorate the kissing booth.
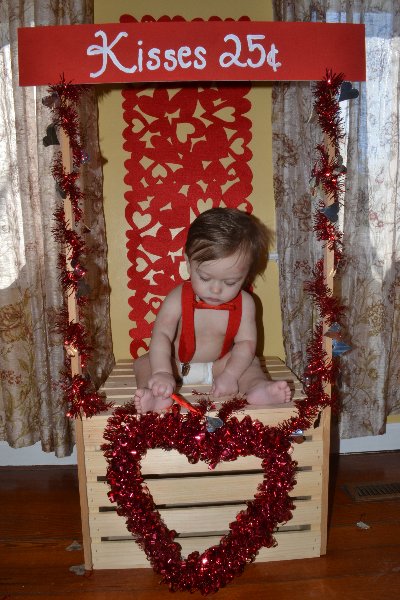
Snap Some Photos!
This Valentine’s Day Photo Booth is the perfect prop for a mini photo shoot with your little ones or even a Valentine’s Day party. Add a few props on sticks or a super cute baby in a suspenders and a bow tie and you’ll have great photos.
Happy Valentine’s Day!!

Talk about it